Tag Archives: frugal

Ever wonder how things were done before we had modern conveniences such as non-stick spray? Well, I hate to say it but I’m old enough to remember saving butter or margarine wrappers for that very purpose. There is usually enough residue on each wrapper for 1-2 uses to grease cake pas, cookie sheets, or whatever else might need it. I still use this method even though I have several varieties of non-stick spray in my cabinet. Have a frugal day!

Easy Peasy Hummingbird Nectar

Hummingbirds are beautiful creatures and fun to watch but I don’t like having to boil the nectar. From what I have read it is important to cook it so that any bacteria that might be present in the water is killed.  I know you can buy it already made but the frugal person in me won’t allow that.  Fortunately, I came up with an easier way to make it.  All you need is water, sugar, and a handy dandy coffee maker.

A common ratio of water to sugar is 4:1.  For my feeders I pour 2 cups water into the coffee maker and place 1/2 cup sugar in the glass carafe.  Turn on the coffee maker and it will do the rest.  Once the water has dripped into the carafe simply stir until the sugar is dissolved.  Let it cool and pour it into a clean feeder.  That’s it.  Easy Peasy.

IMG_20160805_103154

Now I know the coffee pot does not boil the water but it does heat it to steaming.  I have had hummers at the feeders all summer so not boiling the water doesn’t seem to be an issue.

As a side note…Do not add red food coloring to the water. There is some evidence that it can cause birth defects in the babies.


Almost Free Basil Plants

DSC_2393_1759

I plant basil every summer. Not just for culinary uses but for its medicinal value.  A little research on the internet about basil will reveal that it has properties that help draw venom out of bites and stings but that a blog is for another day.

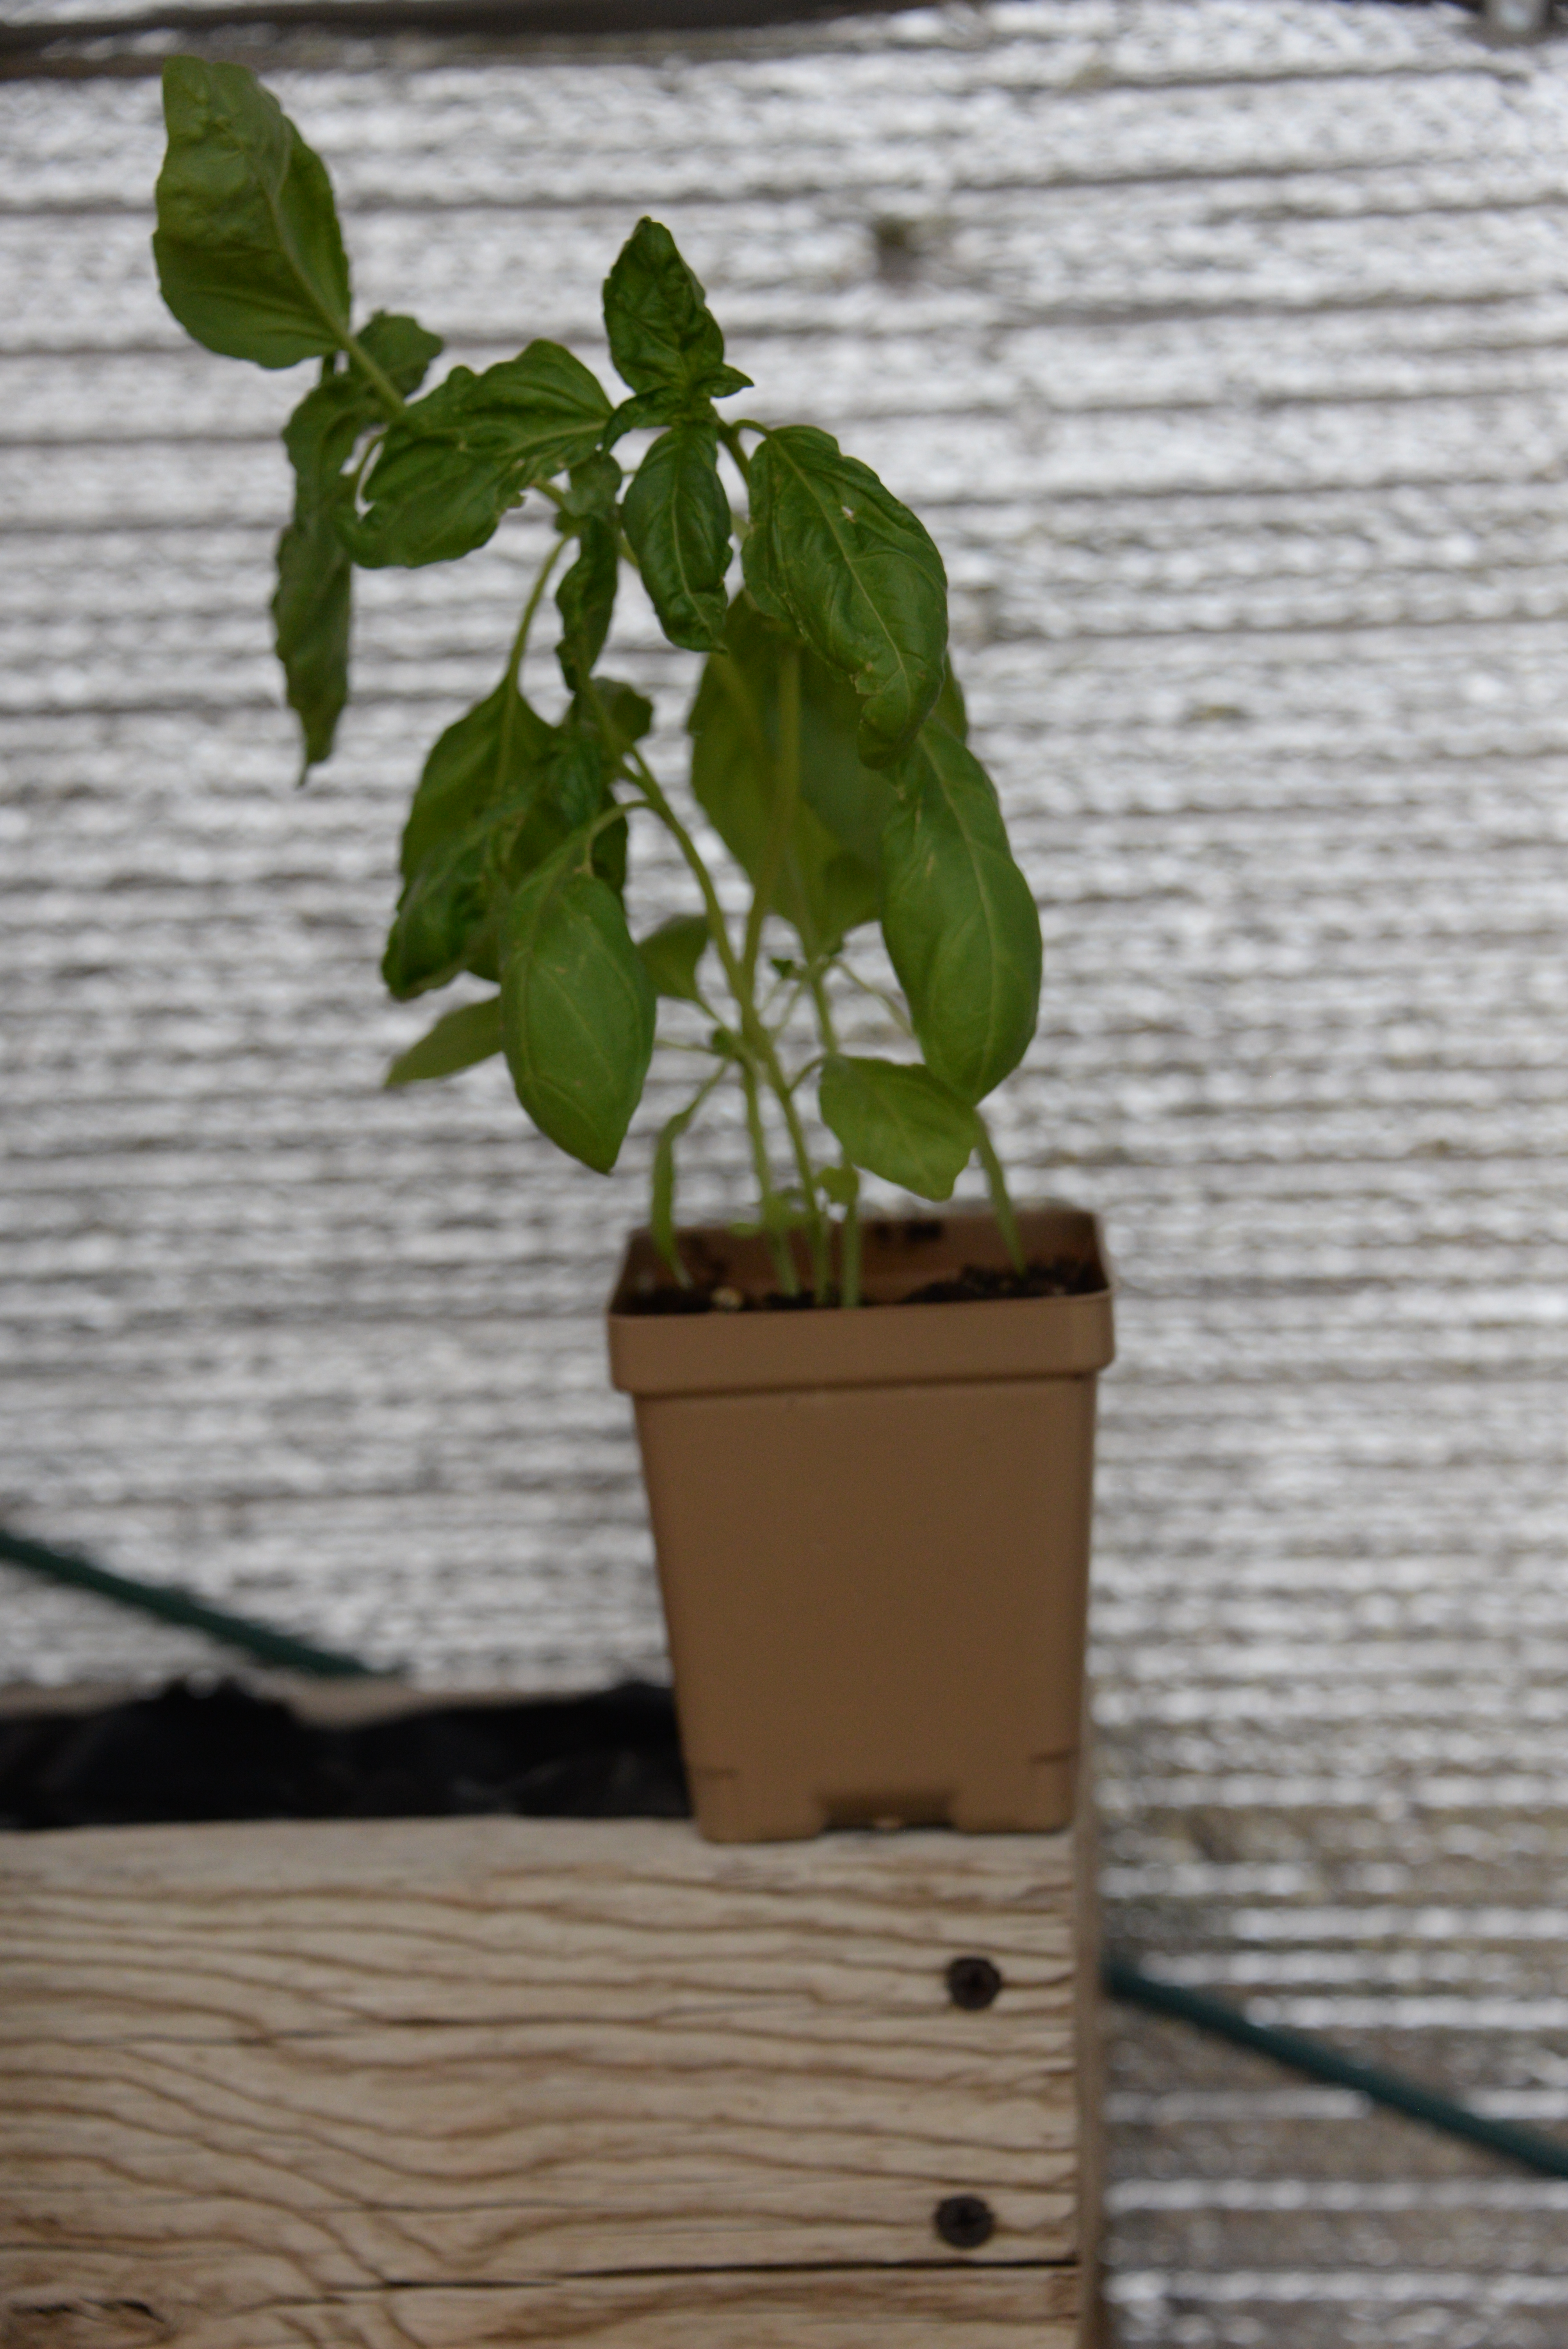
Since I usually don’t get around to planting basil seeds in the spring I end up buying a   plant at the local home and garden store.  This year there happened to be three plants in the planter instead of one.  So being the frugal person I am I gently divided the roots of the three plants and replanted them into separate planters.  And presto I now have three basils plants for the price of one.

Once the plants reached full size I took several cuttings and put them in water for a week or two to root.  Once each plant had a fair amount of roots I transferred them to planters to give away.  At this point I have lost track of how many plants I got from the one that I bought.  I have shared with friends and at the end of the summer plan to take one of the smaller ones I rooted and bring it indoors for the winter.  If all goes according to plan I won’t have to buy one next spring.

Thanks for reading. Have a frugal day.

Foraging for Dinner

DSC_2394_1760

I love being able to go outside and “pick supper”.  Selection varies from night to night and season to season but it sure beats going to the  grocery store.  You can’t get much fresher than “just picked”.  Last night we had fresh picked asparagus sautéed in butter with mushrooms and carrots along with a salad filled with freshly picked lettuce.  No pictures of that though we ate it all up before I thought about it.

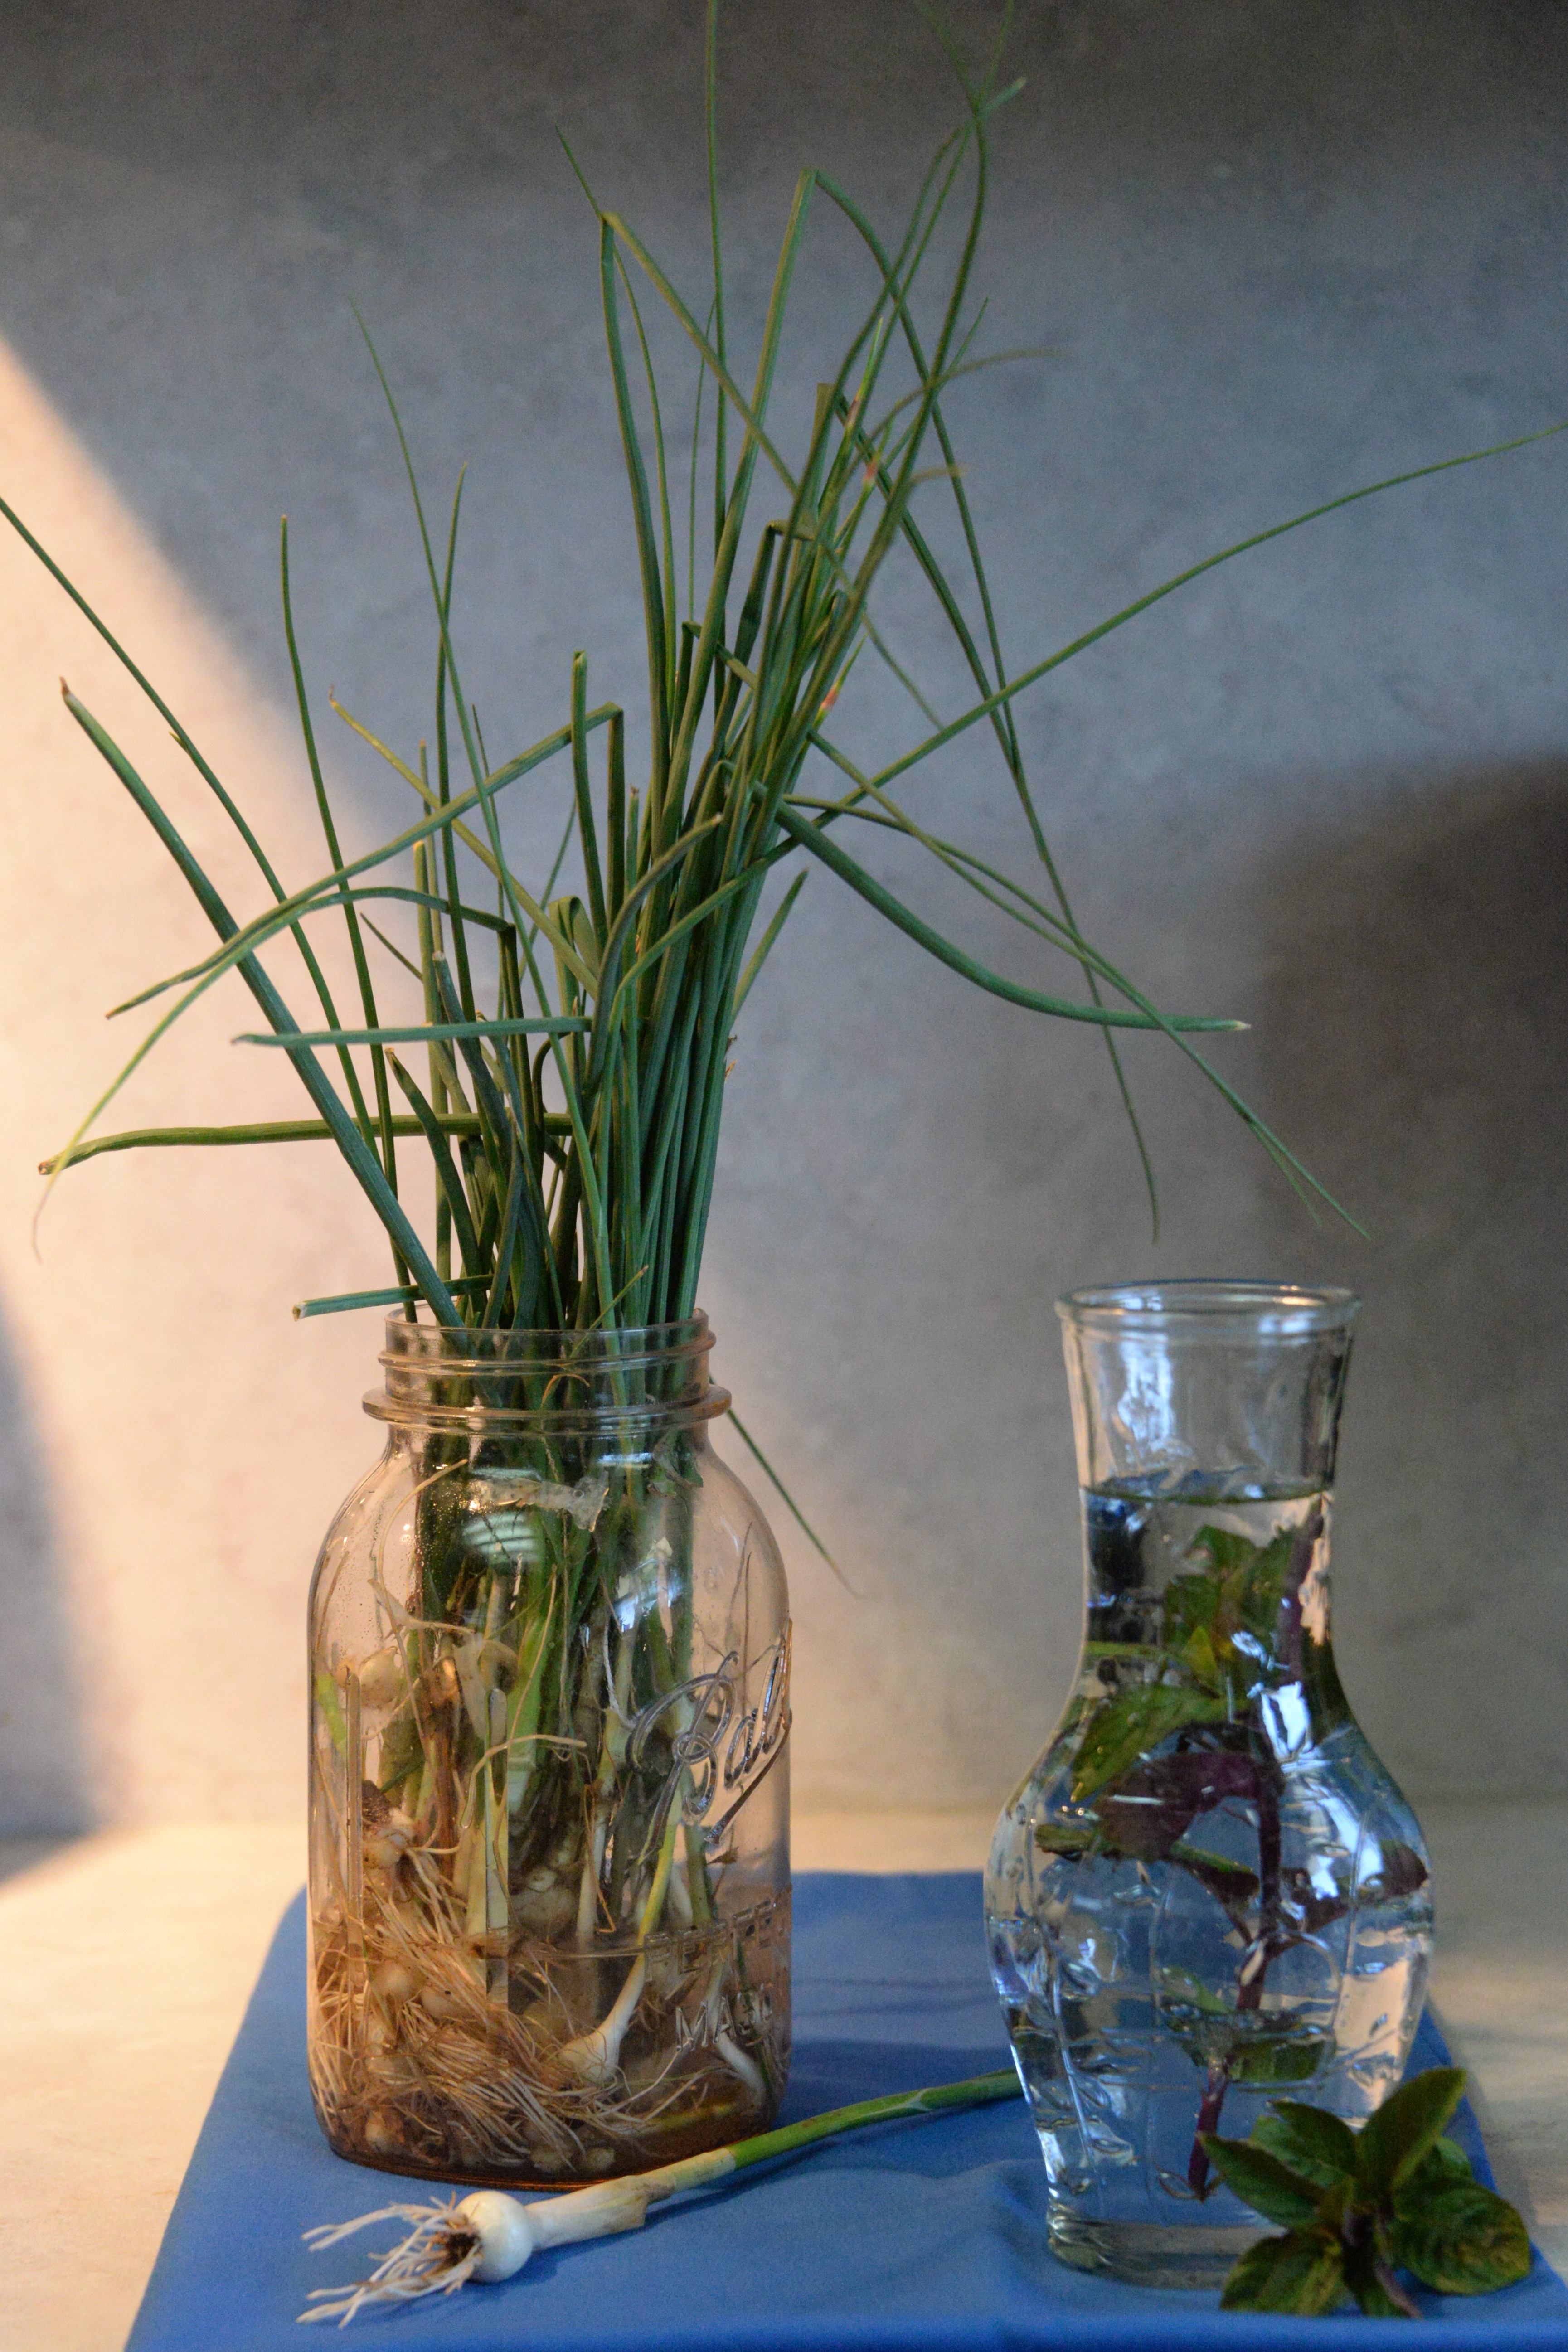
Tonight we had crappie caught by my Dad out of our pond, wild onions which were great in the hushpuppies and an infusion of peppermint tea. All organic, chemical free and loaded with nutrients.  Wild onions are full of minerals and peppermint has many known health benefits including improving digestion.

I spent the afternoon digging up garlic and onion chives as well as peppermint to plant in containers so that I can have fresh herbs indoors next winter.  The chives are fabulous  in salads and on baked potatoes.  The peppermint tea is useful for helping fight off  winter colds.  My tomatoes, bell cayenne, jalopeno, and habanero peppers are ready to plant as soon as the weather cooperates.  I couldn’t resist planting a few cucumber seeds but I brought them inside to germinate.  A few days head start will allow me to have fresh cucumbers just a little bit earlier.

Hopefully I have inspired you to start growing your own food if you aren’t already doing so.  Let me know how it goes.


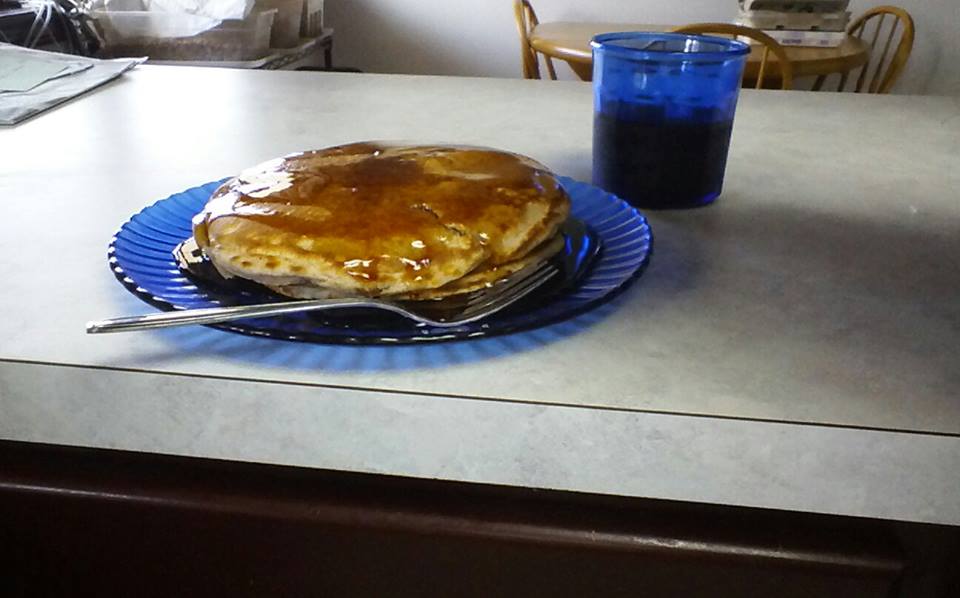
Fluffy Gluten Free Pancakes

1521207_942907465726138_2792539979767971491_n

Fluffy Gluten Free Pancakes

  • 1 C rice flour
  • 1 egg beaten
  • 2 T baking powder
  • 1 C milk
  • ¼ t salt
  • 2 T oil
  • 1 t tapioca starch

In a medium bowl mix egg, milk, and oil. Add remaining ingredients. Mix well. Pour dough onto hot, oiled griddle. Turn when batter is bubbly and set.   Makes 4-5 8” pancakes.

Cob Cat Cave

IMG_3056IMG_3054

I have been reading about cob building and now that I have an outdoor cat I decided to see if I could build it a shelter for free.  For the bottom I used a greenhouse tray that I obtained the last time I bought a flat of plants.  For the upper portion I found a scrap of old Formica in the garage.  For insulation I lined it inside and out with 1/2″ thick fiber fill that was used as packing around some furniture we bought.

The hubby kept telling me the cat wouldn’t get in it but  you can see it did before I could even start putting the cob on it.  The cat is inside it in the featured photo but he is so far back he doesn’t show up very well.

I am by no means a cob building expert. If you want to do any cob building I highly recommend you find better instructions than mine. I just used what I had available.  I mixed equal portions of sand and clay.  Since I didn’t have any straw I used pine needles that I cut into 2″ lengths.  I mixed it all together then added enough water to make a moldable clay.  Then I applied it to the mold in blobs and used my hands to smooth it all together.

Once it was build I pressed pebbles into the top to make it more durable.  So far it is holding up well. It sits under an overhang so it doesn’t get very wet.  I don’t know if it would survive if it got thoroughly wet.

We jokingly call it the Cat Cave.  It even has a front porch.  The cat loves it.  I got him out of it one morning when it was 15 degrees outside and he felt toasty warm.   It was free so I love it.  I did learn however that I do not want to try a large-scale project like this. It was hard work.

Safely Quick Thaw Meat Without the Microwave

There are those who claim microwaving food removes the nutrition from food and question the safety of eating microwaved food.  Others staunchly disagree.  I have no idea which is right. For those that want to avoid microwaving food or just don’t have a microwave to thaw their food here is another option.  It isn’t as quick as a microwave but is much faster than sitting it on the counter to thaw. Do not do this with any meat that has instructions to thaw in the refrigerator such as turkey.

Place frozen meat inside a clean zippered plastic bag.   Place the bag in a pan of very hot water.  Check it every 15 minutes or so. Turn the bag  as needed. Replace the hot water as it cools.  Do not leave in water longer than 60 minutes before cooking or placing back in the refrigerator.


Easy Peasy Sweet and Sour Sauce

IMG_2944

SWEET AND SOUR SAUCE

1 ½ C water

1 C sugar

½ C vinegar

½ C pineapple juice

2 drops red food coloring, 3 drops yellow food coloring

Stir all of the above ingredients together and place in a sauce pan. Heat mixture until it boils. Turn off burner. Mix 3 T cornstarch and ¼ C water together. Add to mixture in sauce pan. Stir until thickens.

This recipe only takes a few minutes to make, is cheaper, tastes better and has fewer chemicals than the store bought versions.  If you know how to make jelly, you can make a large batch of it and can it just as you would jelly.

Thanks for visiting. Have a healthy and frugal day.

Pam

Jude 22